

Gel Polish Ombre Nails: How to Get a Perfect Gradient
Ombre or gradient gel nails — where colour transitions smoothly from one shade to another across the nail — are one of the most requested nail art effects in professional salons. The good news is that the basic ombre technique is achievable at home with practice. Here's a step-by-step guide to getting a beautiful gel polish ombre.
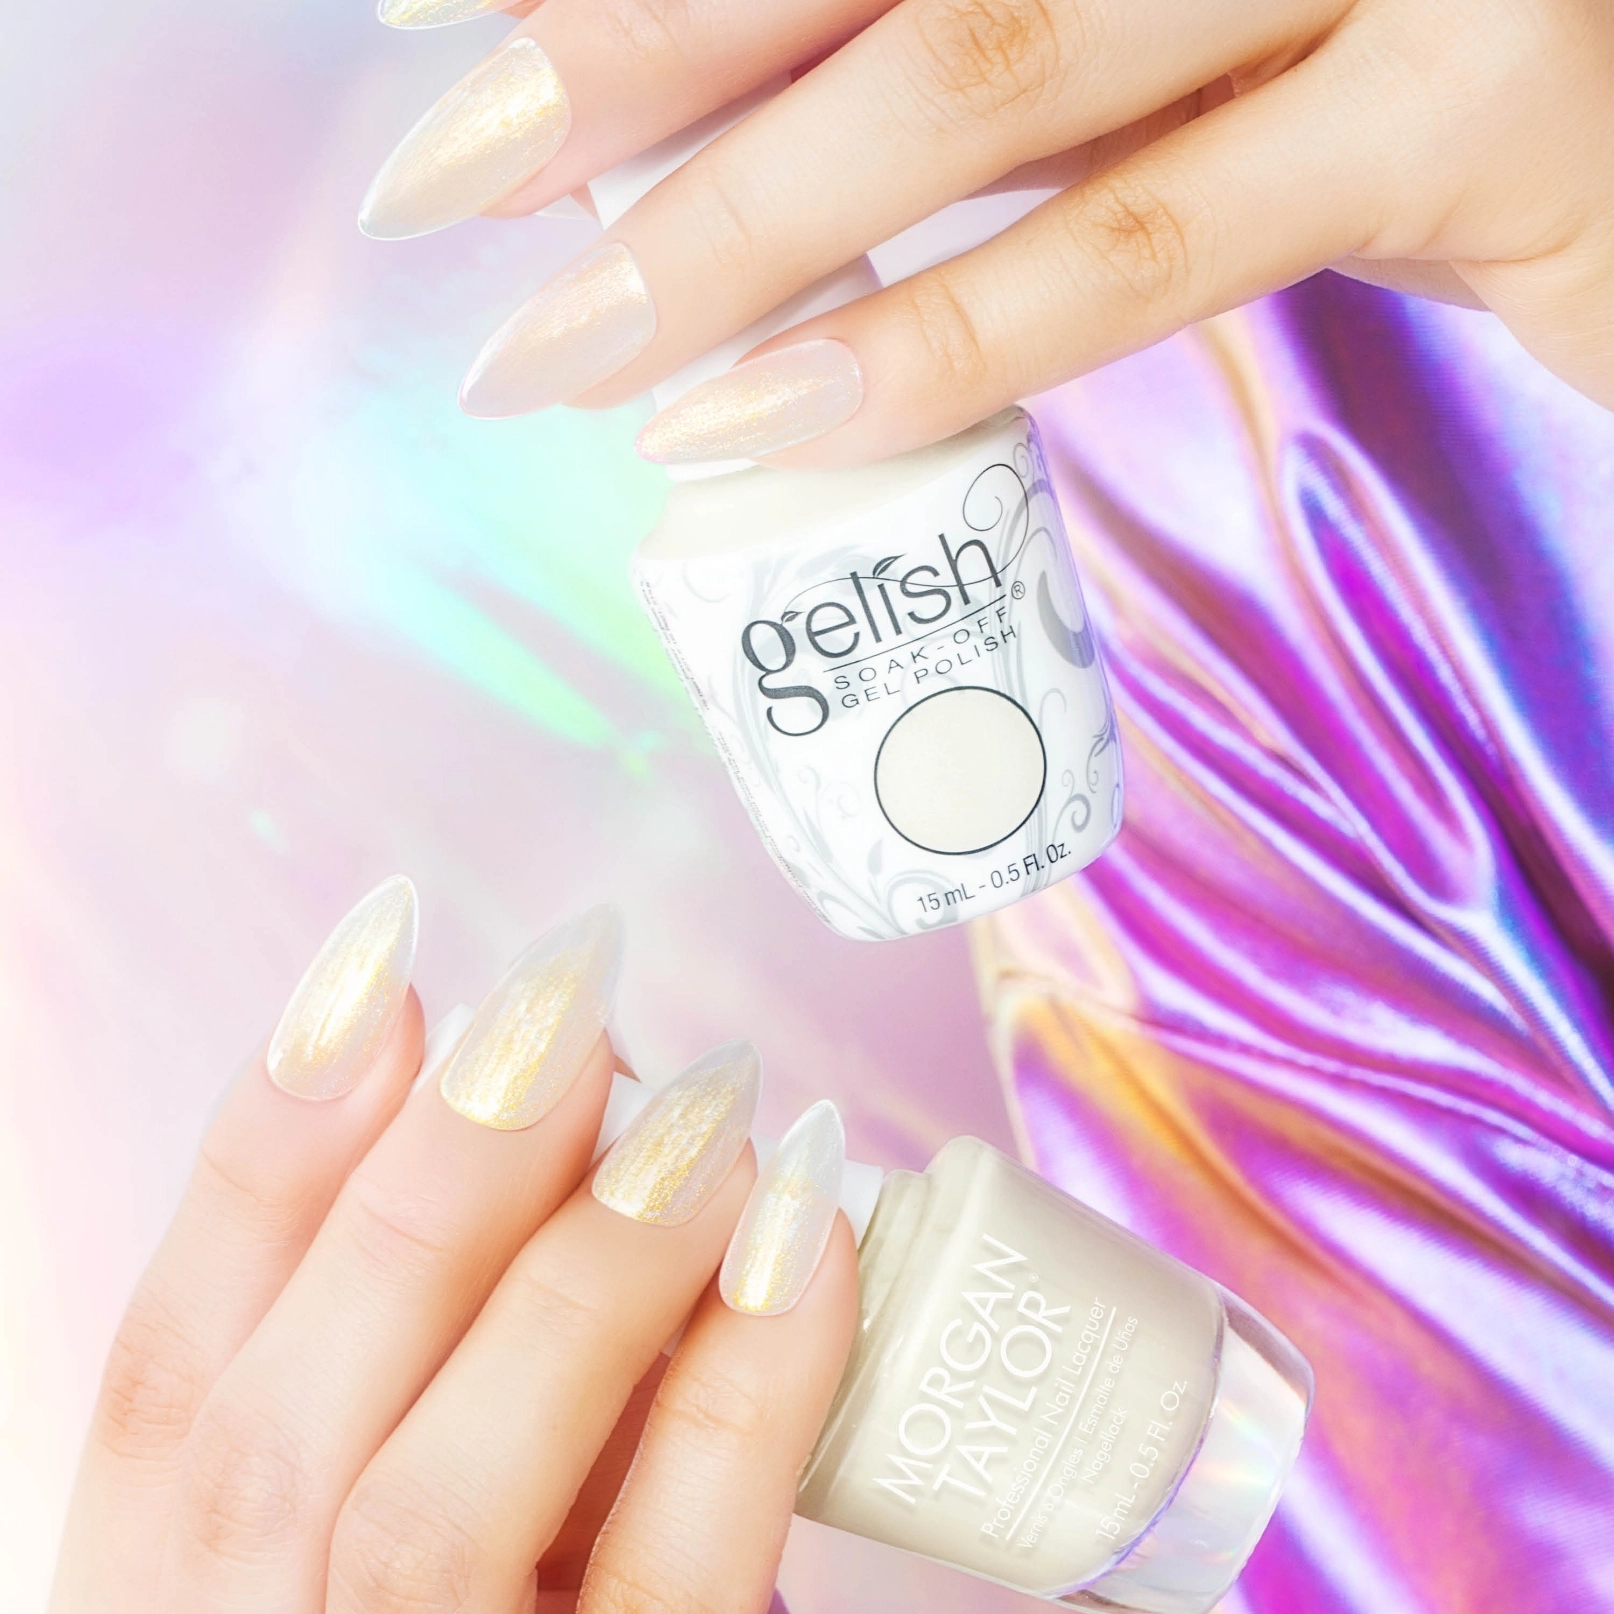
What You Need for Gel Polish Ombre
- Two or three Gelish gel polish colours (the transition colours)
- A white or light-coloured gel base (makes the gradient more vivid)
- A small piece of cosmetic sponge
- A flat palette or piece of foil to work from
- LED lamp
- Liquid latex or tape to protect the surrounding skin (optional but helpful)
- Nail surface cleanser and lint-free wipes
Choosing Your Ombre Colours
The most successful ombre combinations use colours that are adjacent on the colour wheel or are different shades of the same hue:
- Nude to pink (the most popular, sometimes called a "baby boomer" ombre)
- Pink to coral to orange (sunset ombre)
- Light blue to deep blue (ocean ombre)
- Lavender to white (ethereal ombre)
- Two shades from the same Gelish seasonal collection (they're designed to complement each other)
Step-by-Step: Sponge Ombre Technique
- Prep and base coat — complete the standard nail prep process and apply Gelish Foundation Base Coat. Cure.
- Apply white or light base — for vivid ombre, apply a coat of white gel or your lightest ombre colour as a base. Cure.
- Prepare your palette — squeeze small amounts of your two ombre colours side by side on a palette or foil square, slightly overlapping in the centre.
- Load the sponge — dab the sponge over both colours, picking up both on the sponge. The overlapping area creates the blend.
- Dab onto the nail — using a gentle stippling (dabbing) motion, apply the sponge to the nail. The two colours will appear, blending in the centre. Don't drag — dab.
- Build and blend — add more product and continue dabbing until the coverage is even and the gradient is smooth. Multiple light layers work better than one heavy application.
- Cure between layers — cure for 30 seconds after 2–3 dab layers, then continue if more intensity is needed.
- Clean up — if you used liquid latex around the nail, peel it off. Otherwise clean up any sponge marks on the skin with an orangewood stick.
- Top coat and cure — apply a generous coat of Gelish Top It Off to seal and smooth the ombre texture, then cure and wipe.
Tips for a Better Ombre
- The ombre looks more professional with thinner, lighter layers built up gradually than one heavy application
- Working quickly is important — gel on the palette begins to dry from lamp and UV exposure. Work one nail at a time
- A slightly patchy ombre is normal and expected — the top coat smooths it significantly
- Practice on a nail tip or false nail before working on a client

Browse all Gelish shades at Nail Outlet to find your perfect ombre colour combinations — same-day UK dispatch, free shipping over £50 + VAT.
Frequently Asked Questions
Is gel ombre hard to do?
The basic sponge ombre technique is achievable by beginners with practice. The first attempt rarely looks perfect, but by the third or fourth set the results are significantly better.
What is a "baby boomer" ombre?
A baby boomer ombre is a gradient from nude or beige at the base of the nail to white at the tips — essentially a soft, blended French manicure effect. It's one of the most popular ombre styles globally.
Can I do ombre at home without a sponge?
The sponge is the most accessible tool for ombre at home. Professional nail technicians sometimes use a flat fan brush for a different blending effect, but the sponge technique is the easiest starting point.