

Gel Polish Social Media Tips: How to Photograph Your Nail Work
Whether you're a professional nail technician building a social media presence or a home enthusiast who wants to share their gel nail creations, good photography is the difference between a post that gets ignored and one that drives engagement and bookings. Here's a practical guide to photographing gel polish nails for social media.
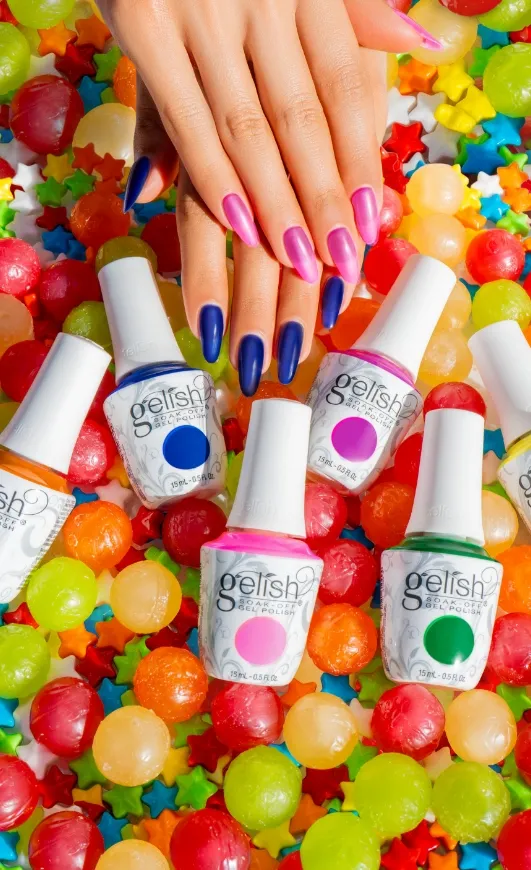
Lighting Is Everything
The single biggest factor in nail photography quality is lighting. Gel polish has a reflective, glass-like finish that looks stunning in the right light and flat in poor light.
Natural light is the gold standard — a north-facing window on a bright day provides soft, diffused light that shows gel polish colour and shine beautifully without harsh shadows or colour casts.
Ring lights are the professional go-to for consistent results in any lighting condition. The circular catch-light they create in the gel surface is distinctive and makes nails look polished and professional in photos.
Avoid: direct sunlight (too harsh, washes out colour), overhead fluorescent lighting (adds a green or yellow cast), no artificial light in a dim room (grainy, flat images).
Composition and Framing
The most effective nail photography compositions for social media:
- Flat lay — hand flat on a surface, nails facing up. Clean background (white, marble, or a relevant prop). Simple and consistently effective.
- Side profile — hand turned slightly to show the nail shape and profile. Shows the 3D quality of the polish particularly well.
- Fingers together, angled — all four fingers (or all five) pointing diagonally toward the camera. Classic nail photography composition that shows all nails clearly.
- With a prop — holding something seasonal or relevant (a flower, a coffee cup, a product) adds context and makes the image more interesting than a plain hand.
Background and Props
Keep backgrounds simple. Clean white or light grey backgrounds let the nail colour be the hero. Marble textures are popular in nail photography for good reason — they're visually interesting without competing with the nails. Avoid cluttered or busy backgrounds that distract from the nails.
Seasonal props — flowers for spring, fruit for summer, leaves for autumn, baubles for winter — add context and make images feel timely and relevant.
Editing
Light editing improves nail photography significantly. On a mobile phone:
- Increase brightness slightly (nails look better slightly lighter than natural)
- Boost saturation slightly to make colour more vivid
- Increase contrast to make the reflection and depth of the gel more visible
- Sharpen carefully — a little goes a long way on nail photography
Avoid over-editing to the point where the colour doesn't accurately represent the actual gel shade — this leads to disappointed clients.
Captions and Hashtags for Nail Content
For nail technicians building social media presence, captions should include the shade name, the product brand and relevant local hashtags. Consistent use of hashtags like #gelpolish #gelish #nailsuk combined with local hashtags (#hertfordshirenails, #londonnails, etc.) builds a relevant local audience over time.
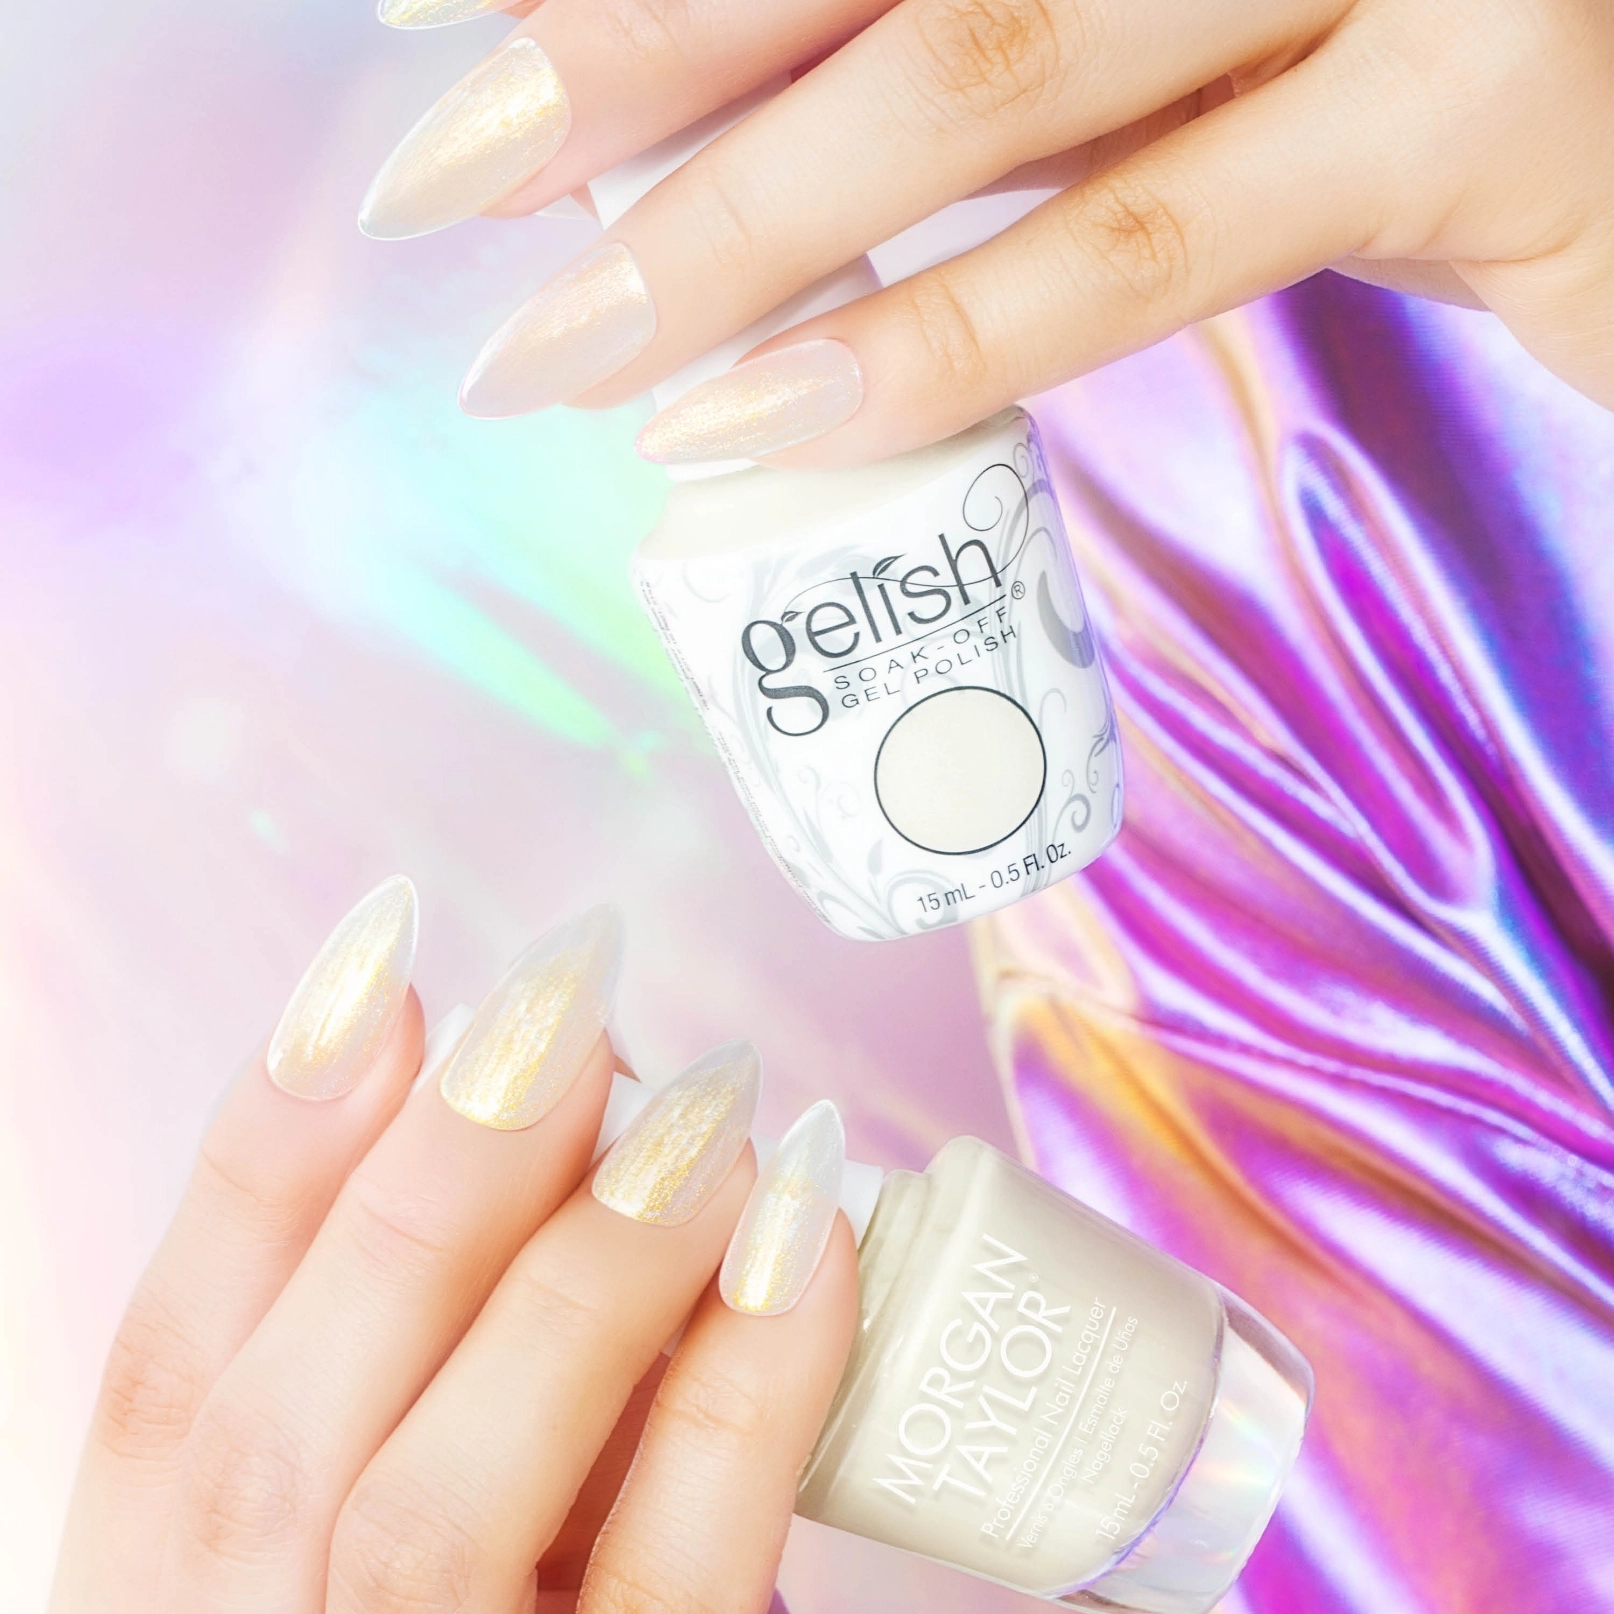
The most shareable gel nails start with the best gel polish. Browse Gelish at Nail Outlet — same-day UK dispatch, free shipping over £50 + VAT.
Frequently Asked Questions
What is the best phone setting for nail photography?
Portrait mode can create a nice depth-of-field effect for nails. Otherwise, standard photo mode with manual focus on the nail tips gives the sharpest results. Clean your phone lens before shooting.
How do nail technicians get such good nail photos?
Consistent lighting (usually a ring light), simple clean backgrounds, well-manicured client hands including cuticle oil applied before photographing, and light editing in apps like VSCO or Lightroom Mobile.
Should I put client nails on social media?
Always get client consent before posting photos of their hands on social media. Many clients are happy to be photographed — ask as a standard part of the appointment.