

Gel Polish Nail Art for Beginners: Easy Designs Anyone Can Do
Nail art doesn't have to be complicated to look impressive. Some of the most striking gel nail looks are achievable by anyone with a steady hand, the right tools and a bit of patience. Here are the best beginner-friendly gel polish nail art techniques and the minimal kit you need to get started.
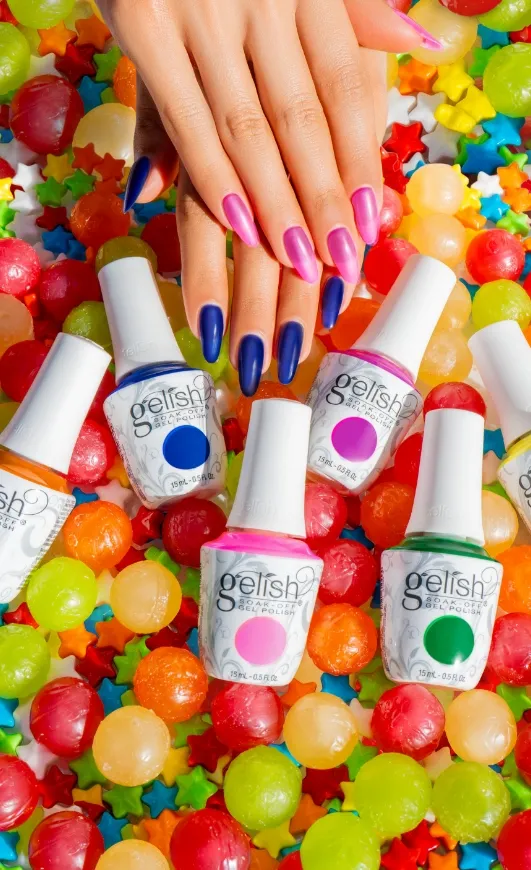
The Glitter Accent Nail
The easiest nail art you can do: paint four nails in a crème shade and one nail (usually the ring finger) in a glitter or shimmer shade from the same colour family. That's it — instant nail art with zero skill required. This is also one of the most requested looks in professional salons because it photographs beautifully and elevates any manicure instantly.
The French Manicure
The modern French manicure is simpler than it looks. Apply a sheer pink or nude base, then use a thin nail art brush or French tip guides to paint a white or contrasting tip. The key is keeping the smile line consistent and using thin coats. French tip guides make this much easier for beginners — apply, paint, remove before curing, then seal with top coat.
Two-Tone Colour Block
Divide the nail horizontally or diagonally with tape, apply two contrasting colours (one per section), remove the tape before curing, then top coat and cure. Geometric colour blocking looks modern and deliberate without requiring any artistic skill. Try a nude base with a bold colour at the tip, or split the nail down the centre for a half-and-half effect.
Dot Art with a Dotting Tool
A dotting tool (or the blunt end of a bobby pin) dipped in gel polish creates perfect round dots on the nail. Dots along the cuticle edge, arranged in a flower pattern, or scattered randomly across the nail all look intentional and polished. Use a contrasting colour over a cured base coat and seal with top coat before curing.
The Negative Space Manicure
Negative space nails use the natural nail as part of the design. Apply tape in geometric patterns to the cured base coat, apply gel colour over the top, then remove the tape before curing to reveal the bare nail beneath. Simple shapes — diagonal lines, a square window, a chevron — create striking modern designs without any freehand painting.
Ombre / Gradient Nails
A basic gel ombre uses a small piece of sponge to blend two colours. Apply the two colours next to each other on a palette, pick up both with the sponge and dab onto the nail over a cured base. Multiple light applications build up the gradient. Cure between each application. It takes practice but even an imperfect ombre looks intentionally artsy.
Tools You Need for Beginner Gel Nail Art
- Dotting tool (dual-ended for different dot sizes)
- Fine nail art brush for detail work and French tips
- Striping tape for geometric designs
- French tip guides
- Small cosmetic sponge for ombre effects
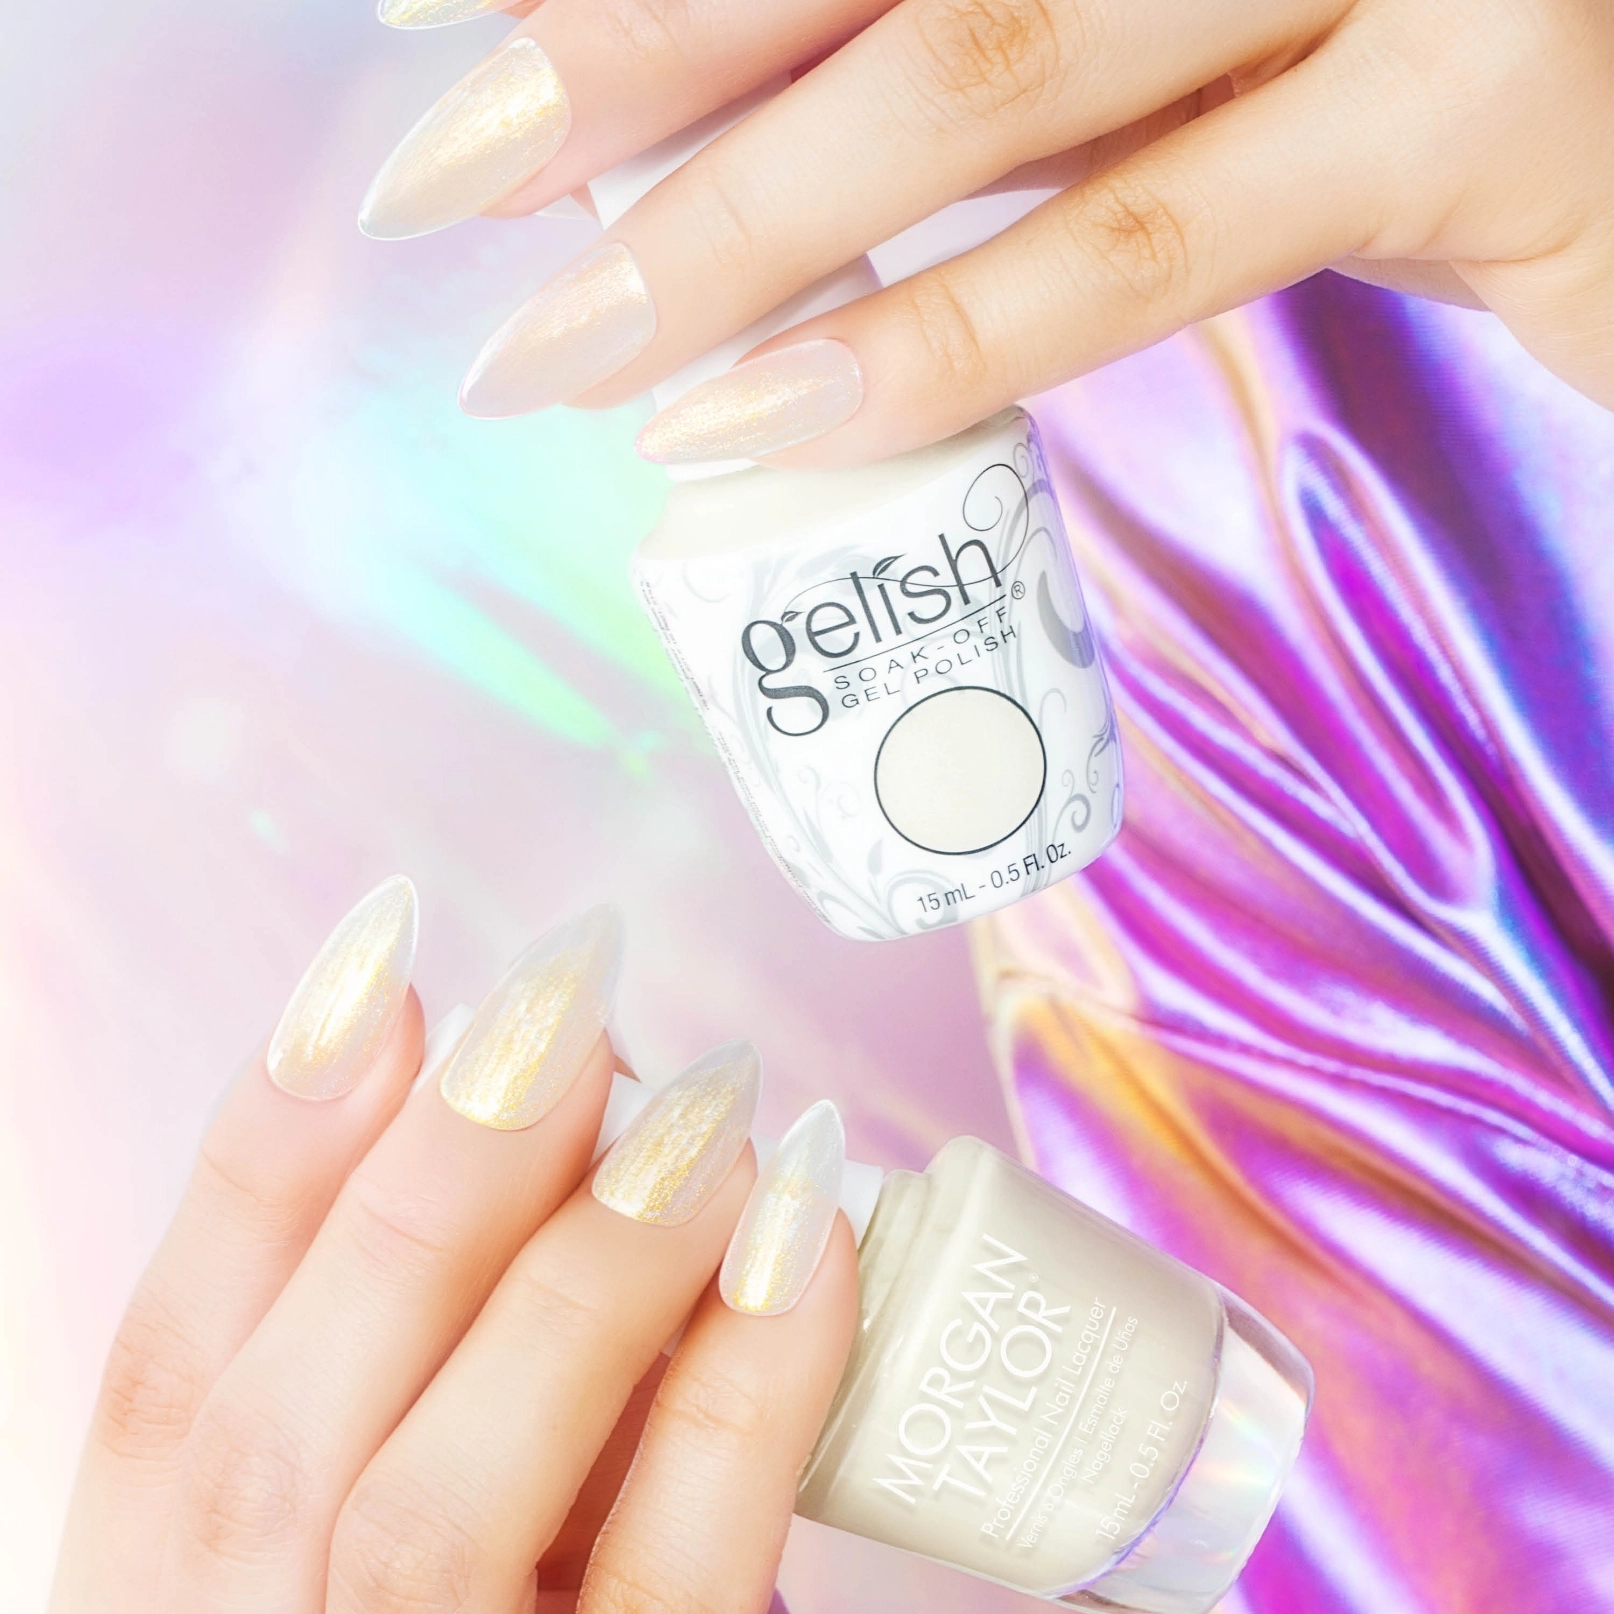
The best nail art starts with the best gel polish. Browse the full Gelish range at Nail Outlet — over 70 shades to inspire your next design, with same-day UK dispatch.
Frequently Asked Questions
Can I do nail art with gel polish at home?
Yes — all the techniques above work with standard gel polish products. Apply nail art details over a cured gel base coat, then seal with top coat and cure.
Do gel nail art designs last as long as regular gel polish?
Yes — when properly sealed with top coat, gel nail art lasts just as long as a standard gel manicure. The top coat encapsulates the design and protects it from chipping.
What is the easiest gel nail art design for beginners?
The glitter accent nail is the easiest — no skill required, always looks great and is universally flattering. The French manicure with tip guides is a close second.